
Support
The Vision Calculator user guide. The app is no longer on the App Store, and this guide is kept for anyone still using it.
Contact us
Questions, bug reports or feature requests: email support@savisolutions.com.
Quick start
Configure a camera, then let the calculator do the conversions.
- Choose a camera. On the Camera screen, swipe the model left or right to scroll through the options. Then choose from the sensor and lens options available for that model. Or tap Catalog Selection and pick a configuration by its catalog number.
- Open the calculator. Tap Calculator at the bottom. Field of view, working distance and feature sizes are now computed for that camera.
- Enter a value. Tap any number field and enter a measurement; the others update instantly. You can also press and hold the camera image and drag it up or down. Tap Inch/mm to convert every value.
- Hold a value while comparing cameras. The field highlighted in yellow stays constant when you change cameras. For example, enter the cell size you need, switch to the Camera screen to pick a higher-resolution camera, then come back: the cell size is unchanged and the working distance reflects the new camera.
The Camera screen
Model selector
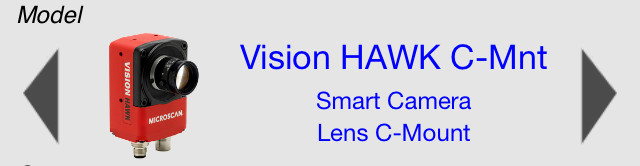
Choose a camera model by swiping the tile left or right. The arrow shows there are more options in that direction, and tapping an arrow also scrolls the selection.
The tile shows whether the model is a smart camera or a GigE camera, and whether the lens is integrated or C-Mount. Once you choose a model, the sensor and lens selectors update to the options available for it. With the custom camera model, every sensor and every C-Mount lens is available.
Sensor selector
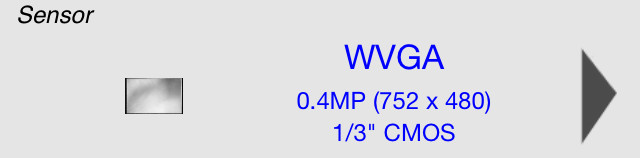
Choose a sensor by swiping the tile left or right, or tap an arrow. The tile shows the sensor's name, its pixel resolution, its standard sensor size and its sensor technology.
Lens selector
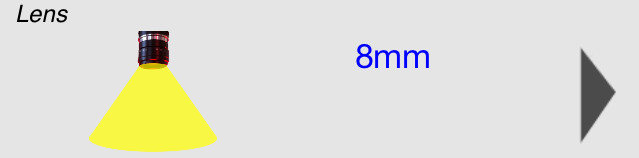
Choose a lens by swiping the tile left or right, or tap an arrow. The options depend on the camera model. For C-Mount lenses you can also enter a custom focal length; calculations with a custom focal length are less accurate than with a standard lens.
Options
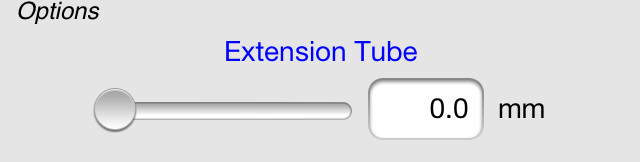
C-Mount cameras can have an extension tube between the lens and the camera body. Use the slider to choose a length in 0.5 mm steps, or type a value in the number box.
Catalog selection

Tap the catalog selection area to choose a camera configuration by its catalog number. Swipe the list up or down, then tap a camera to select it and close the list. The model and sensor update to match, and so does the lens if it's integrated. For C-Mount models, choose the lens separately.
The catalog number is shown in bold, with an x standing for any digit; these digits are usually software options that don't change the model, sensor or lens. The catalog name is shown in grey underneath. A green check or grey circle shows whether the model meets the requirements stored in the calculator's memory.
The Calculator screen
Number fields
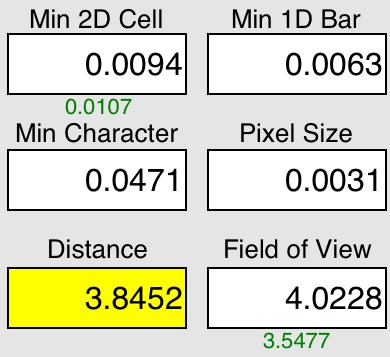
Tap a field to bring up the keyboard and enter a number, then tap Done. The other fields are recalculated from the one you changed and the camera configuration.
The last field you entered is highlighted in yellow. That value stays constant when you change the camera configuration, and the white fields are recalculated around it.
Memory
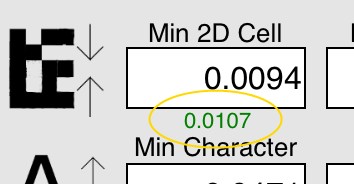
Double-tap the icon next to a field to store its current value. The stored value appears under the field: green if it's met at the current working distance (the field of view is larger, or the feature size is smaller), red if it isn't.
Swipe up on the icon to restore the stored value. Swipe left or right on it to clear it.
Inch/mm
Tap Inch/mm to switch every measurement on the screen between units. The selected unit is highlighted in blue.
Jog control
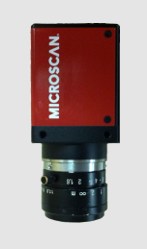
Drag the camera image up or down to increase or decrease the working distance.
Working distance graph
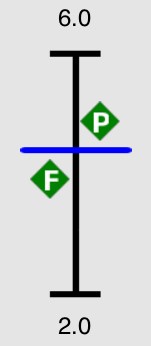
The graph shows the camera configuration's range of working distances on a logarithmic scale: maximum at the top bar, minimum at the bottom, and the current distance in blue. A diamond labeled P marks the farthest distance that still meets every stored feature size. A diamond labeled F marks the nearest distance that meets the stored field of view.
Swipe up on the graph to jump to the maximum working distance, or down for the minimum. Double-tap it to go to the geometric mean of the minimum and maximum distances that meet your stored requirements.
The Settings screen
Catalog filters
Turning off a filter hides the matching camera configurations from the catalog, which simplifies the list when you need specific features.
Minimum feature sizes
Use the sliders to set the minimum number of pixels each type of feature needs. The default minimum cell size is 3 pixels, for example; increase it if motion or lighting will reduce image quality.
Field of view
Choose whether the field of view is calculated horizontally or vertically. Sensors are usually shorter vertically. For a Data Matrix that can appear at any angle, choose Vertical so the matrix fits in either direction. For a barcode aligned horizontally with the camera, choose Horizontal.
Walkthrough: the Data Matrix mini calculator
This example uses the mini calculator and memory to find the working range that can read a given matrix. The application:
- An SXGA compact smart camera with its standard lens
- A 25 × 25 cell matrix, printed 1/4 inch square
- The code can be at any angle
- The code's position varies by ±1 inch
1. Settings and camera
On the Settings screen, set the field of view to Vertical (the shorter side), so the matrix fits at any angle. Then on the Camera screen, select the SXGA compact camera configuration. If it isn't listed, turn on more filters in Settings.
2. Open the mini calculator
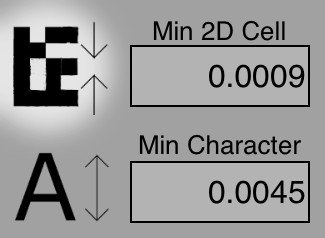
Switch to the calculator and set the units to inches, since the matrix is measured in inches. Tap the Data Matrix icon to open the mini calculator.
3. Cell size
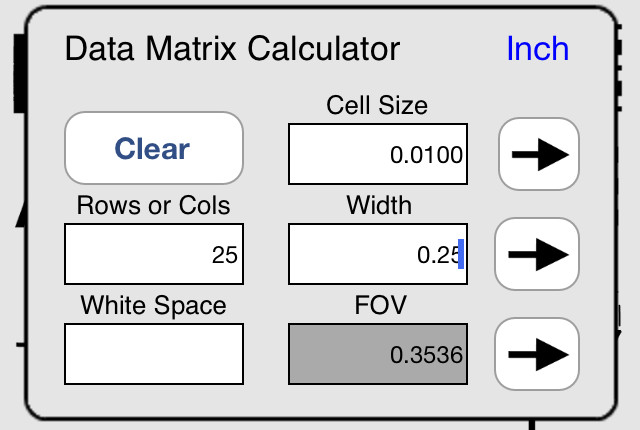
Enter 25 for rows/columns. For a rectangular matrix you'd enter the longer side. Then enter 0.25 for the matrix width, checking that the units indicator at the top right shows inch.
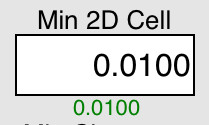
The mini calculator works out the cell size. Tap the arrow next to it to copy it into the calculator's cell size field, then double-tap the Data Matrix icon to store it in memory. The value appears under the Cell Size field, and a P marker on the working distance graph shows the farthest distance that still meets it.
4. Field of view
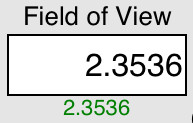
Tap the Data Matrix icon once to return to the mini calculator. Because the matrix can move an inch either way, enter 1 in the White Space field. The box beside it now shows the matrix's diagonal plus white space. Tap the bottom arrow to copy that into the calculator's field of view, then double-tap the field of view icon to store it. An F marker appears on the graph at the nearest distance that meets it.
5. Find the working distance
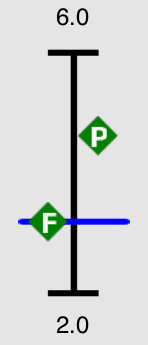
Swipe up on the graph for the farthest working distance that meets both requirements, down for the nearest, or double-tap for the middle of the range. The Distance field shows the result.
Version history
2.10 (August 2012): added the C-Mount WUXGA smart cameras to the catalog, and a link to this guide from the Settings screen.
2.0 (August 2012): a free update for iPhone, iPod touch and iPad with iOS 4.0 or later.
- Updated catalog, with new C-Mount smart cameras and WVGA compact cameras
- Adjustable extension tube length
- Custom focal lengths for C-Mount lenses
- Adjustable minimum feature sizes
- A catalog filter to show only models with the features you need
- Horizontal or vertical field of view calculation